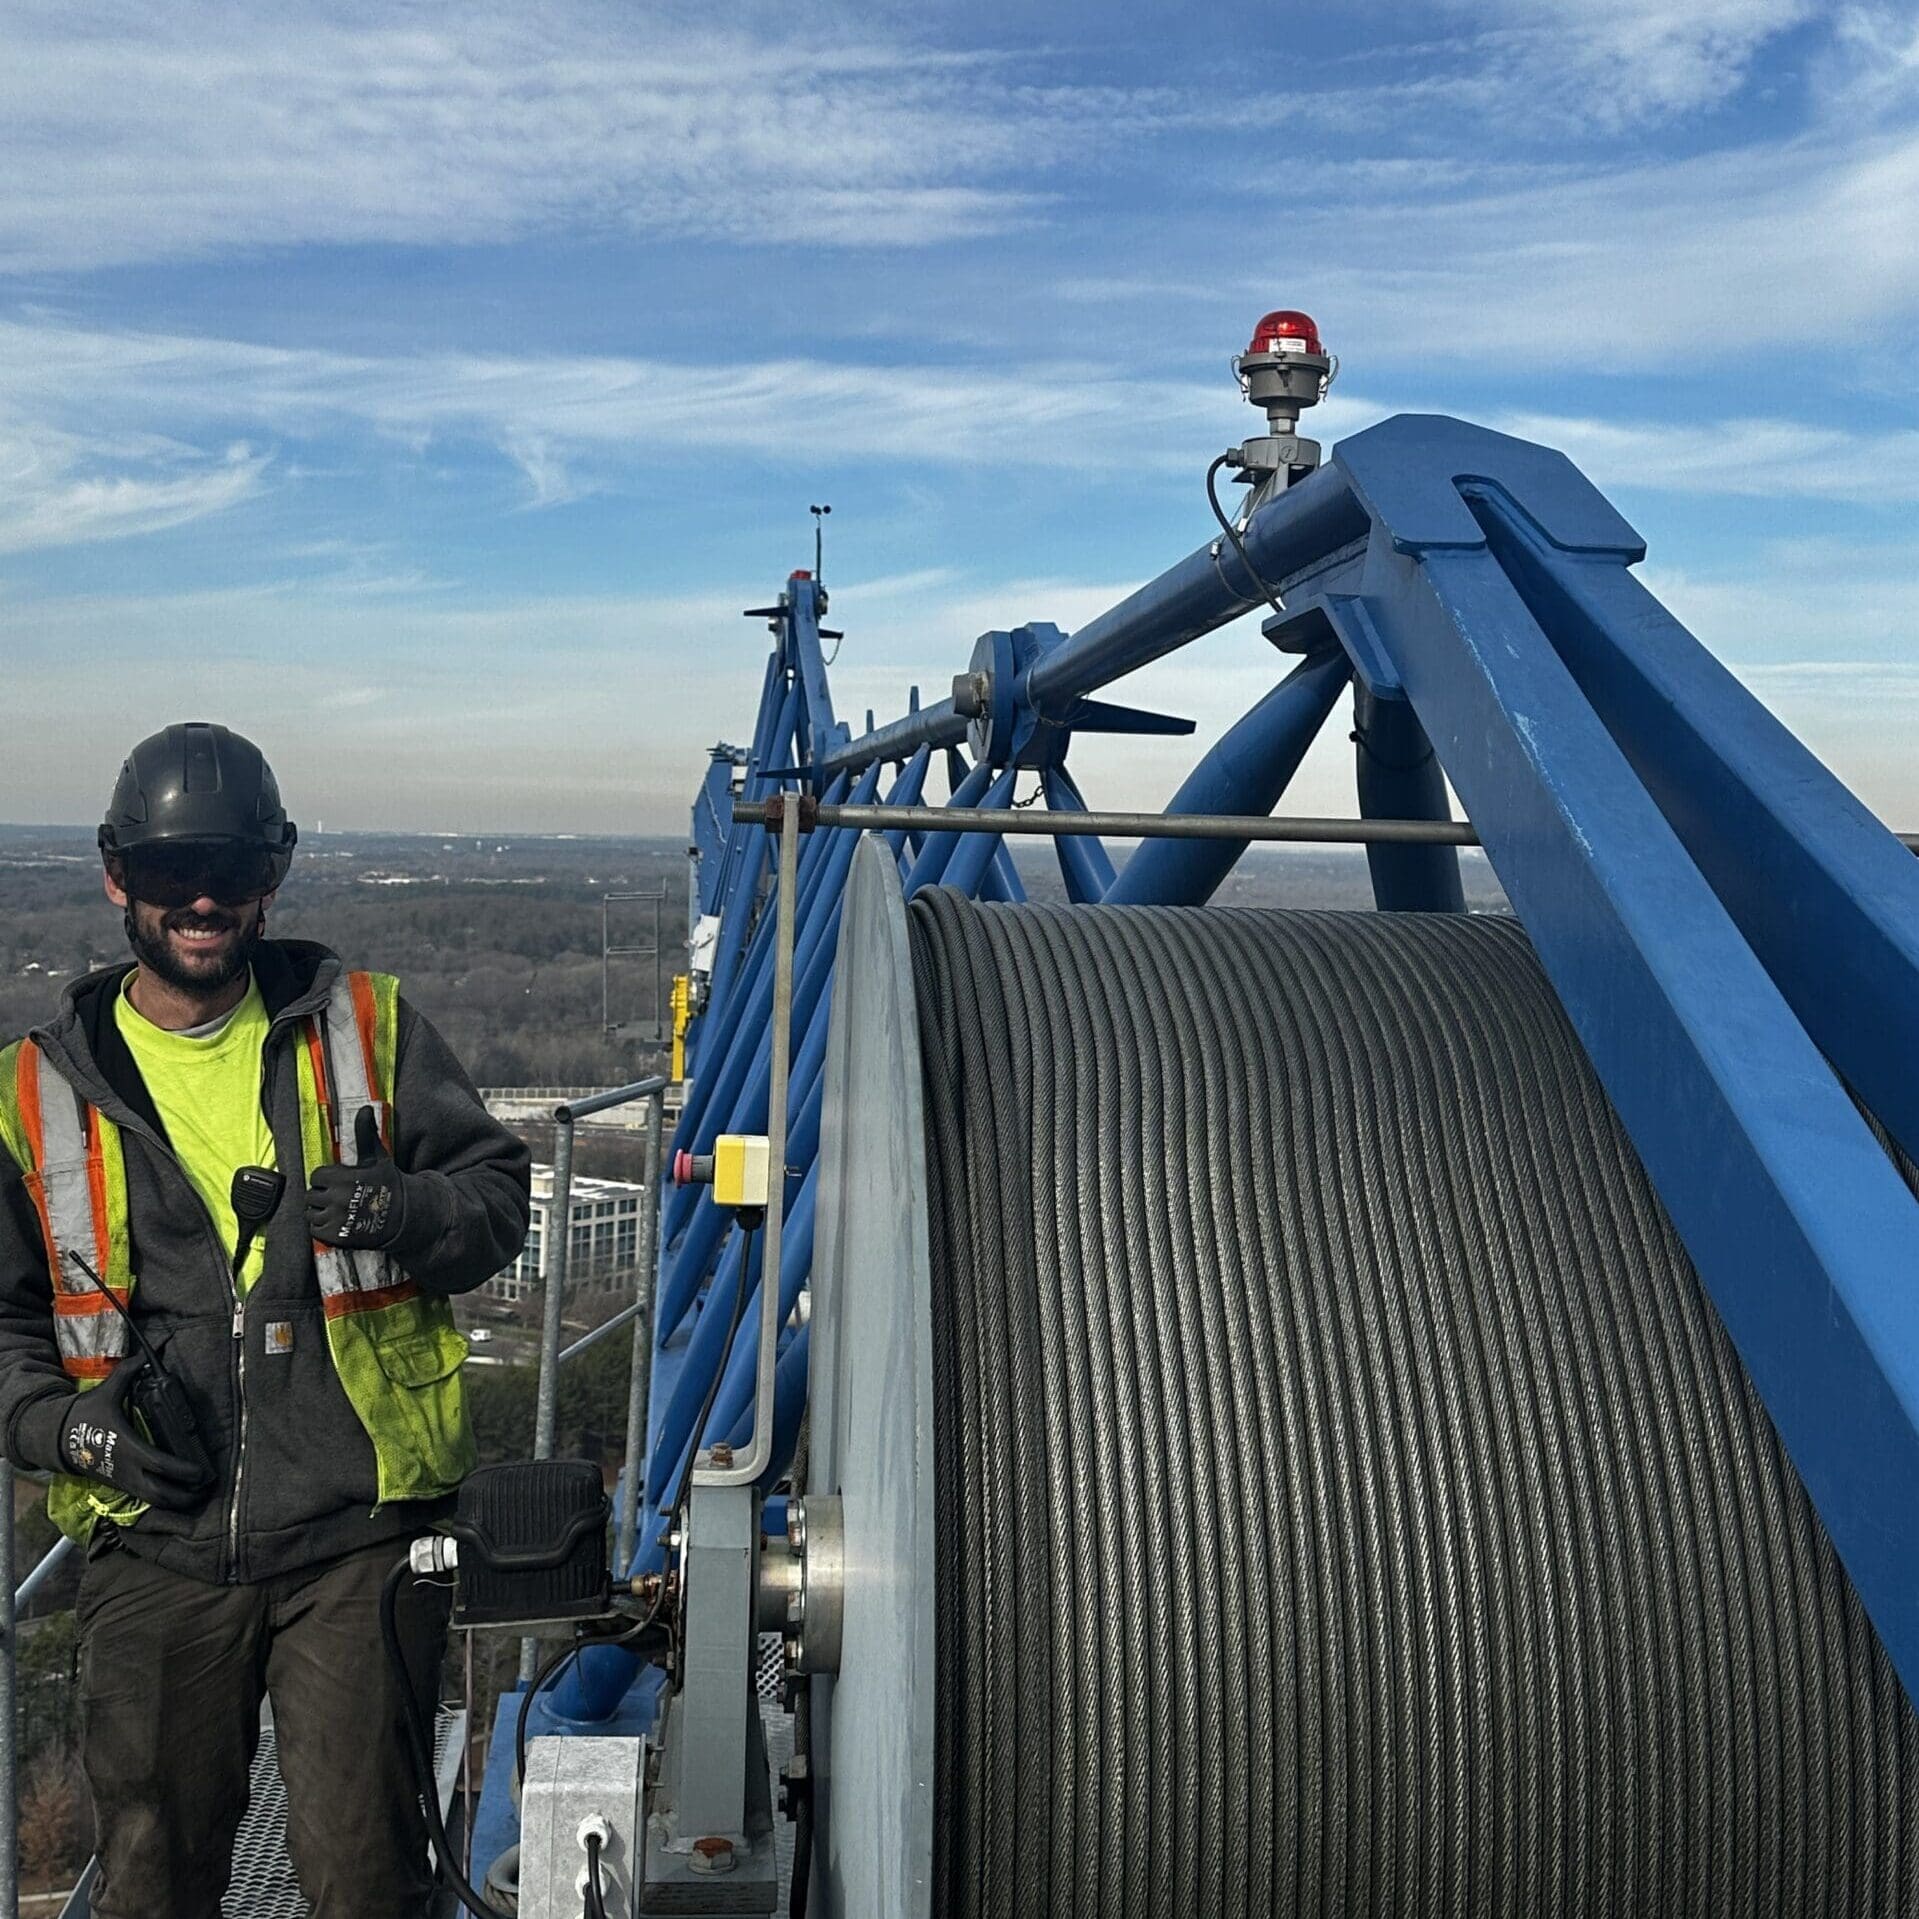
A wire rope that looks fine on the outside can be failing on the inside. That’s what makes wire rope inspection so critical and so easy to get wrong. Every year, rope failures cause dropped loads, equipment damage, and serious injuries that proper inspection would have prevented.
Wire rope inspection criteria aren’t just guidelines. They’re measurable, enforceable standards that tell you exactly when a rope is safe, when it needs monitoring, and when it must come off the machine immediately. These criteria come from ASME, OSHA, and ISO standards, and they cover everything from broken wire counts to diameter loss to internal corrosion you can’t see with your eyes.
This guide breaks down every inspection criterion you need to know. You’ll learn what to measure, how to measure it, and what numbers trigger rope removal. Whether you’re a rigger, a crane operator, an inspector, or a safety manager, this is the reference you’ll use in the field.
Key Takeaways
- Broken wire counts are the most common removal trigger — ASME B30.2 sets specific limits based on the number of broken wires per rope lay length, with different thresholds for running ropes versus standing ropes.
- Diameter reduction of 5% or more demands immediate removal — this indicates internal wear, core degradation, or both, even if the outer wires look intact.
- Two inspection levels exist — frequent (visual, operational) inspections happen daily or per shift, while periodic (thorough, documented) inspections follow monthly or quarterly schedules.
- Internal deterioration causes the most dangerous failures — corrosion and fatigue inside the rope are invisible to visual checks and often require nondestructive testing methods for wire rope to detect.
- Heat damage from any source is an automatic removal criterion — exposure to temperatures above 400°F (204°C) for carbon steel ropes permanently weakens the wire, regardless of visible condition.
- Documentation isn’t optional — OSHA and ASME both require written records of periodic inspections, including date, inspector identity, rope condition, and disposition.
What Are Wire Rope Inspection Criteria and Why Do They Matter?
Quick Answer: Wire rope inspection criteria are specific, measurable standards that define the acceptable condition of a wire rope in service. They cover broken wires, diameter changes, corrosion, deformation, heat damage, and end connection integrity. Meeting these criteria prevents catastrophic rope failure during lifting operations.
Wire rope doesn’t fail all at once. It degrades over time through fatigue, wear, corrosion, and mechanical damage. Inspection criteria give you objective benchmarks to track that degradation.
Without criteria, inspection becomes subjective. One person might think a rope looks “fine” while another sees a problem. Criteria remove the guesswork. They tell you: this many broken wires in this length of rope means the rope comes off.
The Standards Behind the Criteria
Several organizations publish wire rope inspection criteria. The most commonly referenced in North America include:
- ASME B30.2 — covers overhead and gantry cranes
- ASME B30.5 — covers mobile and locomotive cranes
- ASME B30.9 — covers slings
- OSHA 29 CFR 1910.179 — overhead and gantry crane regulations
- OSHA 29 CFR 1926.1413 — construction crane inspection requirements
- ISO 4309 — international wire rope discard criteria
These standards overlap significantly but are not identical. Always follow the standard that applies to your specific equipment type and jurisdiction. When standards conflict, apply the more conservative criterion.
What Are the Two Levels of Wire Rope Inspection?
Quick Answer: The two levels are frequent inspections and periodic inspections. Frequent inspections are visual checks done every operating day or shift. Periodic inspections are thorough, hands-on examinations performed at set intervals, documented in writing, and conducted by a qualified person.
Frequent Inspection Requirements
Frequent inspections happen before or during each use. The operator or designated person visually scans the rope for obvious problems. You’re looking for gross damage, not subtle degradation.
During a frequent inspection, check for:
- Broken wires visible on the surface
- Obvious kinks, crushing, or birdcaging
- Rope jumping off sheaves or drums
- Unusual wear patterns
- Signs the rope is running rough or making unusual noise
Frequent inspections don’t require written records unless a deficiency is found. But many facilities document them anyway as a best practice.
Periodic Inspection Requirements
Periodic inspections are detailed, hands-on examinations. A qualified person performs them at intervals based on the rope’s service conditions. Monthly intervals are common for normal-duty equipment. Severe-duty or high-cycle applications may need weekly or even daily periodic inspections.
Periodic inspections require the rope to be examined along its entire length. The inspector checks every criterion, measures diameter, counts broken wires, and inspects fittings. Written records are mandatory.
How Do You Count Broken Wires for Removal Decisions?
Quick Answer: Count broken wires within one rope lay length. A rope lay is the distance it takes for one strand to complete a full spiral around the rope core. ASME standards set different limits depending on rope construction, application type, and whether the rope is a running rope or a standing rope.
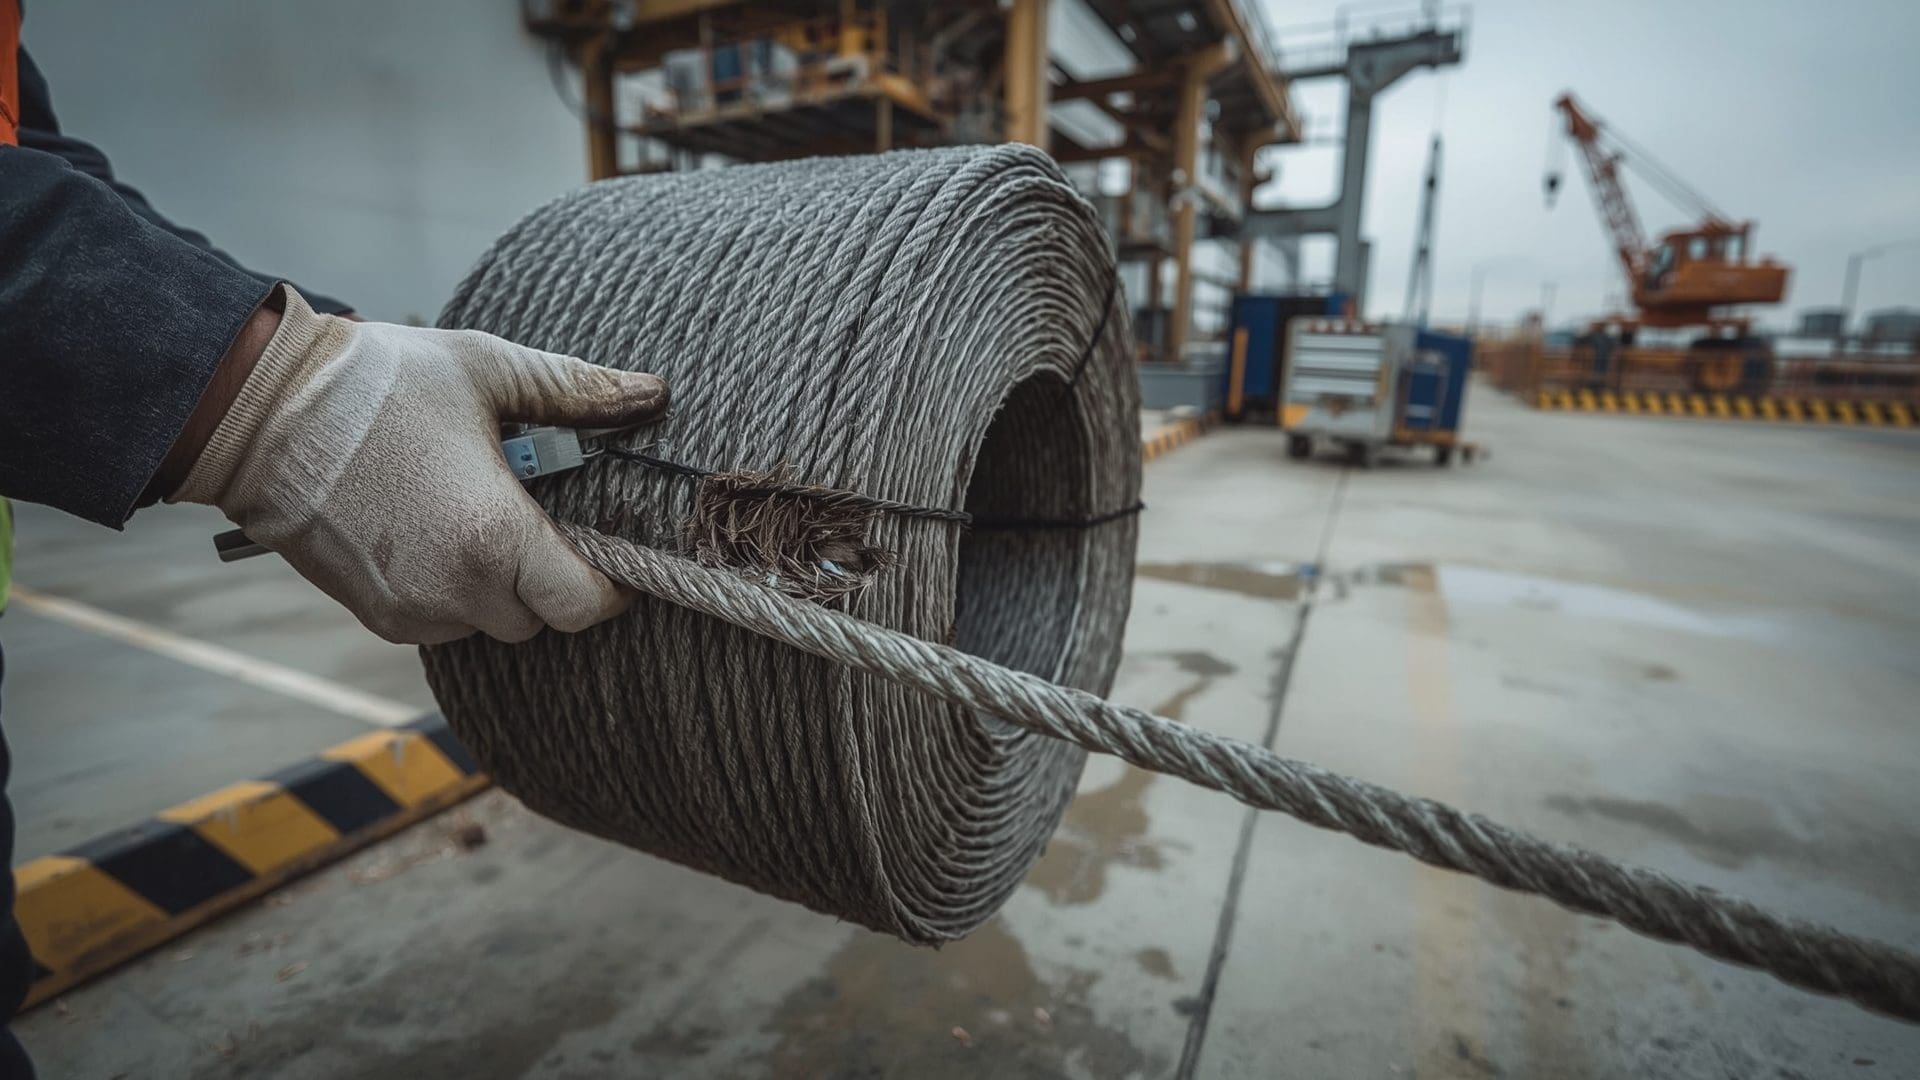
Broken wires are the single most common criterion that triggers rope removal. But counting them correctly requires understanding rope lay length measurement and which standard applies to your situation.
What Is One Rope Lay Length?
One lay length is the longitudinal distance along the rope in which a single strand makes one complete revolution around the core. For a typical 6-strand rope, pick one strand and mark it. Then follow that strand until it returns to the same position (the top of the rope, for example). The distance between marks is one lay length.
Lay length varies by rope diameter and construction. A 1-inch 6×19 classification rope has a lay length of roughly 6.5 to 7.5 inches. Always measure the actual rope. Don’t estimate.
ASME Broken Wire Limits
| Rope Application | Broken Wires in One Lay | Broken Wires in One Strand in One Lay | Valley Breaks |
|---|---|---|---|
| Running ropes (6×19 class) | 6 | 3 | 2 in one lay |
| Running ropes (6×37 class) | 14 | 6 | 2 in one lay |
| Rotation-resistant ropes | 2 in 6 rope diameters | N/A | 1 anywhere |
| Standing ropes | 3 in one lay | N/A | Any visible |
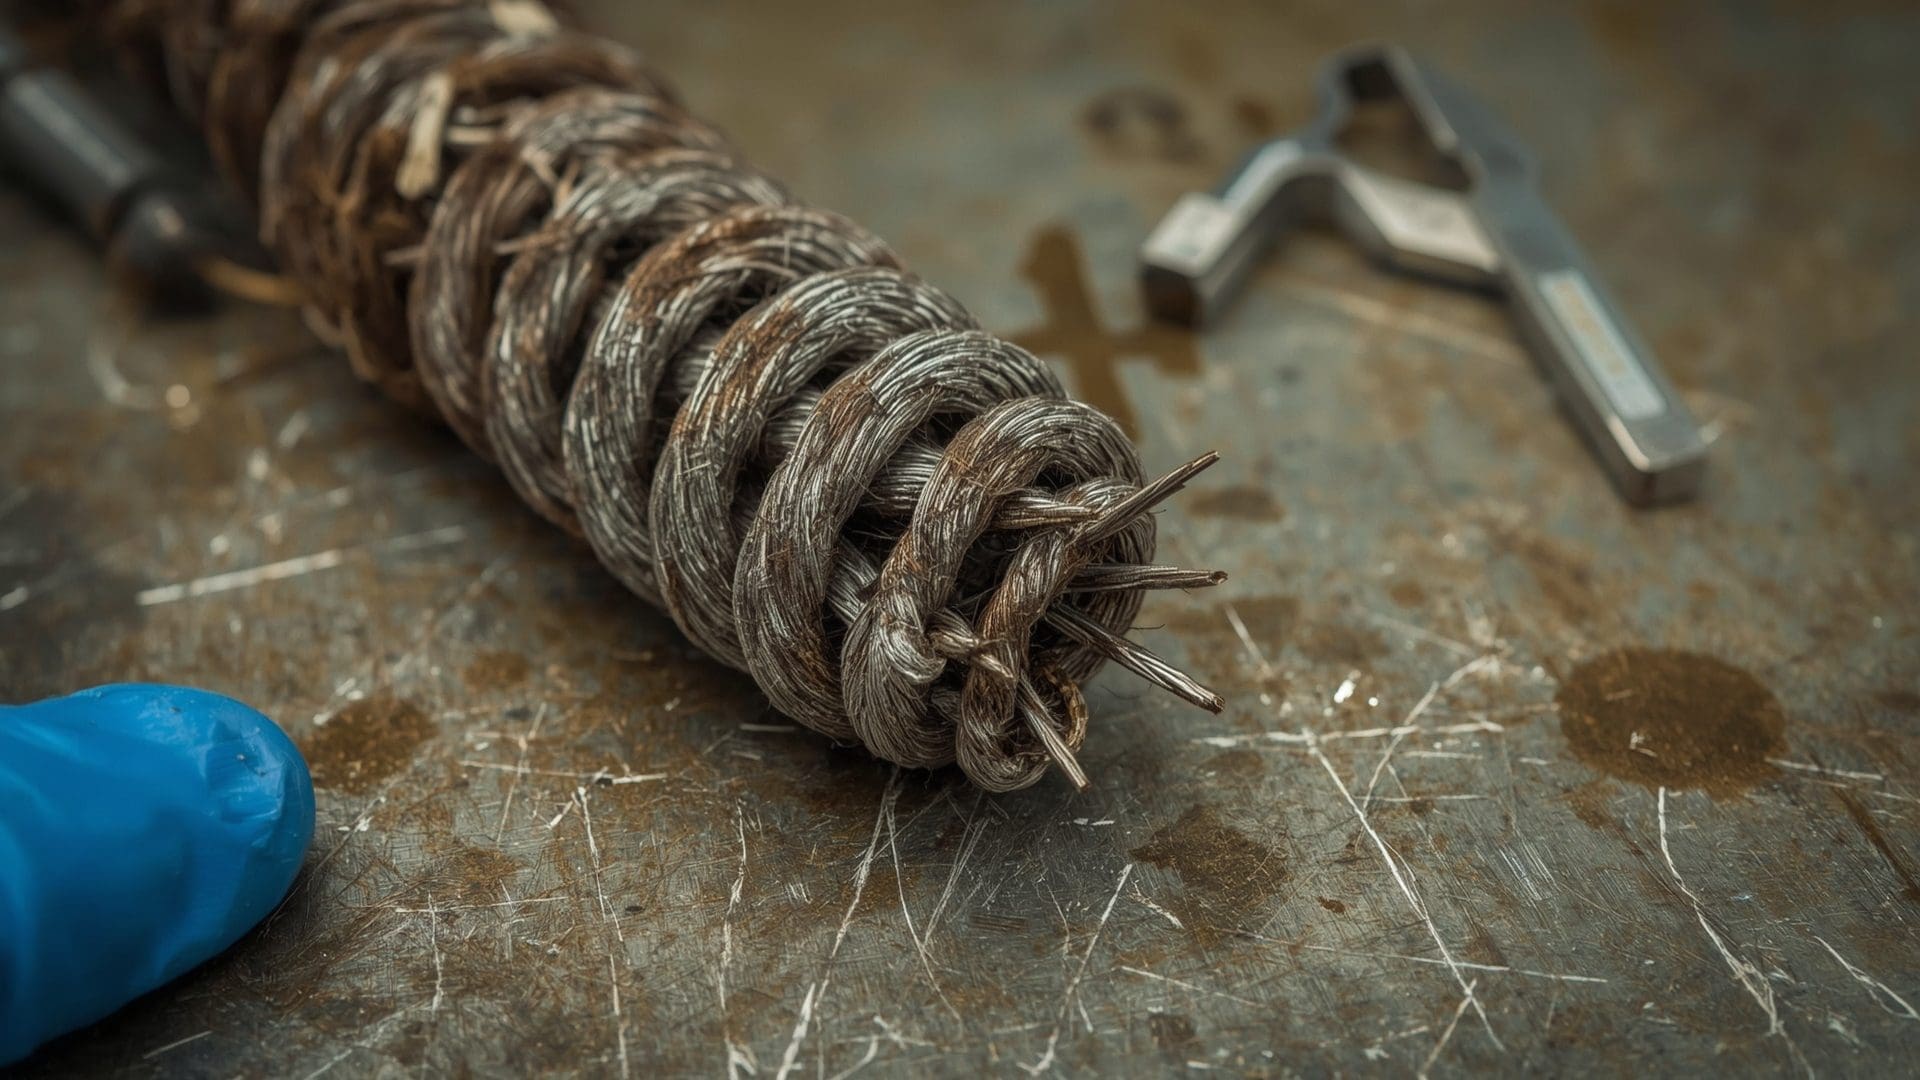
Valley breaks deserve special attention. These are wires that break in the valley between two strands rather than on the crown (the outside surface). Valley breaks are harder to see and indicate more serious internal fatigue. Even one or two valley breaks can trigger removal for certain rope types.
Why Broken Wire Location Matters
Broken wires concentrated in one area are more dangerous than the same number spread across the rope. If you find multiple breaks in the same strand at the same location, the rope’s strength loss is concentrated at that point.
Also watch for breaks near end connections, at equalizer sheaves, and at points where the rope contacts drums or sheaves. These high-stress areas accumulate fatigue faster than straight running sections.
What Diameter Reduction Triggers Wire Rope Removal?
Quick Answer: A diameter reduction of 5% or more from the rope’s nominal diameter requires immediate removal. Reductions between 2% and 5% require increased inspection frequency and monitoring. Diameter loss indicates internal wear, core degradation, strand nesting, or corrosion consuming wire material from the inside.
Diameter measurement is one of the most reliable indicators of internal rope condition. You’re essentially measuring what you can’t see.
How to Measure Wire Rope Diameter Correctly
Use calipers to measure across the widest point of the rope. On a 6-strand rope, this means measuring across two opposing strands (the “true diameter”), not across the valleys between strands.
Take measurements at multiple points along the rope. Compare them to the rope’s original diameter. If you don’t have the original measurement, compare to the nominal diameter from the manufacturer’s specifications.
Diameter Reduction Causes and Thresholds
| Cause of Diameter Reduction | Visible Signs | Typical Reduction Range | Removal Threshold |
|---|---|---|---|
| External wear (abrasion) | Flat spots on crown wires | 1%–8% | ≥5% from nominal |
| Internal wear (strand contact) | Strand nesting, loose outer wires | 2%–10% | ≥5% from nominal |
| Core degradation (fiber core) | Rope feels soft, flattens under load | 3%–15% | ≥5% from nominal |
| Internal corrosion | Rust weeping from valleys, stiffness | 2%–12% | ≥5% from nominal |
| Overloading (stretch) | Localized necking, increased lay length | Varies by severity | Any visible necking |
A diameter increase can also signal a problem. If the rope swells, it could mean core protrusion, internal strand displacement, or moisture absorption in fiber core ropes. Measure both increases and decreases.
What Types of Wire Rope Corrosion Require Removal?

Quick Answer: External corrosion that causes pitting, significant surface roughness, or looseness of individual wires requires removal. Internal corrosion is more dangerous and harder to detect. Any evidence of internal corrosion such as rust-colored weeping between strands, stiffness, or diameter loss should trigger thorough evaluation or removal.
Corrosion weakens wire rope in two ways. It reduces the cross-sectional area of the wires (less metal means less strength). And it creates stress concentrators where fatigue cracks initiate more easily.
External vs. Internal Corrosion
External corrosion is visible. You’ll see rust, pitting, and rough surfaces on the outer wires. Mild surface rust isn’t necessarily a removal trigger if the underlying wire is intact. But pitting is. Pitting creates stress risers that accelerate fatigue cracking.
Internal corrosion is the real threat. Moisture gets trapped between strands and inside the core, especially in fiber core ropes. By the time you see rust weeping from between strands, the internal damage is usually severe.
How Wire Rope Lubrication and Maintenance Prevents Corrosion
Proper lubrication is the primary defense against corrosion. The rope leaves the factory lubricated, but that original lubricant wears and dries over time. Regular relubrication pushes moisture out and coats internal surfaces.
In corrosive environments like marine, chemical, or outdoor applications, you may need stainless steel ropes, galvanized ropes, or plastic-filled constructions instead of standard bright wire rope. Choosing the right rope for the environment is as important as inspecting it.
What Wire Rope Deformations Require Immediate Removal?
Quick Answer: Kinking, birdcaging, core protrusion, strand displacement, and crushing all require immediate rope removal. These deformations permanently alter the rope’s internal geometry and load distribution. No amount of straightening or reshaping makes a deformed rope safe for continued service.
Types of Deformation and Their Causes
| Deformation Type | Description | Common Cause | Removal Required? |
|---|---|---|---|
| Kink | Permanent bend with distorted strands | Improper handling during installation | Yes, immediately |
| Birdcage (basket distortion) | Outer strands spread outward from core | Sudden load release, shock load | Yes, immediately |
| Core protrusion | Core pushes through between outer strands | Shock load, worn sheaves, core swelling | Yes, immediately |
| Strand displacement | One or more strands pushed out of position | Impact damage, improper spooling | Yes, immediately |
| Crushing / flattening | Rope cross-section deformed from round | Pinch points, overwrap on drum | Yes, immediately |
| Waviness | Rope takes a wavy or corkscrew shape when unloaded | Rotation under load, unbalanced construction | Monitor; remove if progressive |
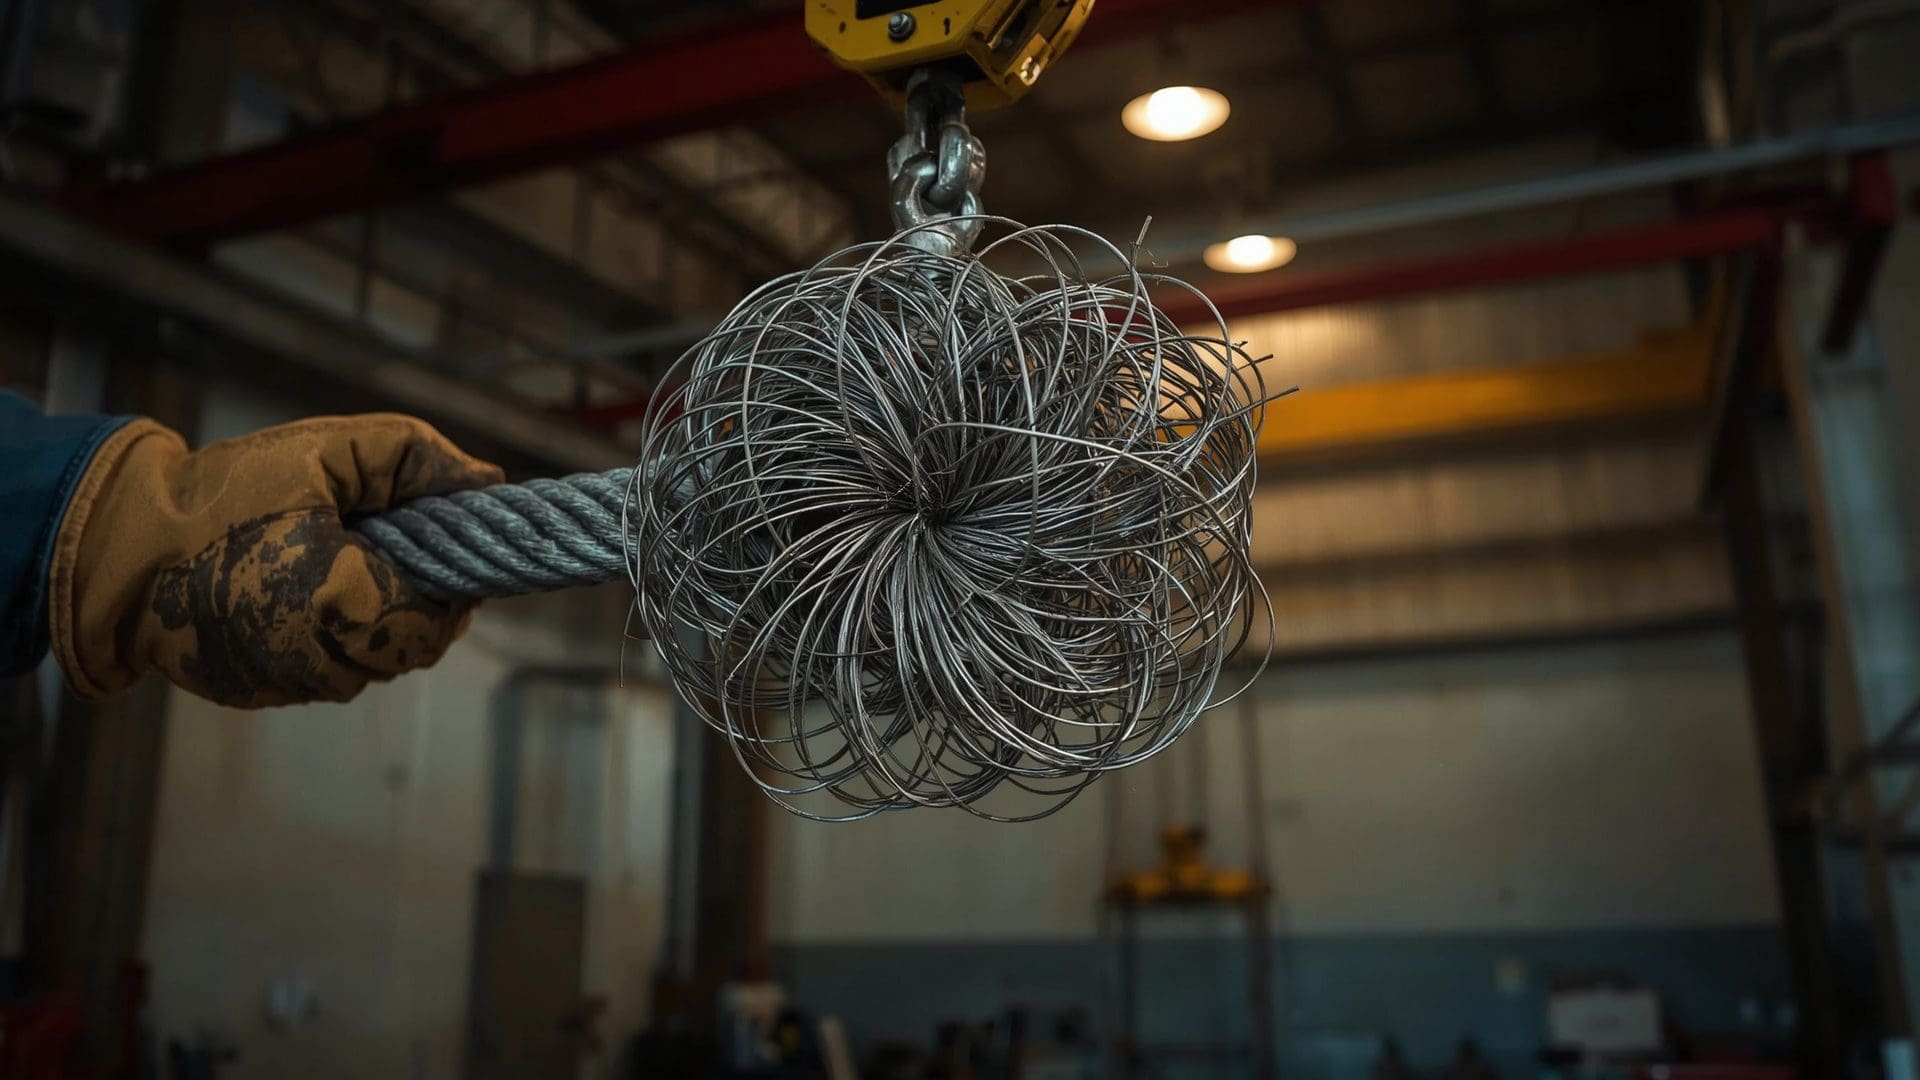
Deformations are not negotiable. A kinked rope cannot be “straightened” back to safe service. The wires inside have been permanently stressed beyond their design limits at that point. Think of it like bending a paperclip back and forth. Even if you straighten it, the metal at the bend is weakened.
How Does Heat Damage Affect Wire Rope Inspection?
Quick Answer: Any exposure to temperatures above 400°F (204°C) permanently reduces the strength of carbon steel wire rope. Heat damage from welding splatter, electrical arc, fire, or friction is an automatic removal criterion. Visual signs include discoloration, blue or straw coloring, and melted or fused wires.
Heat changes the metallurgy of the wire. Even brief exposure to high temperatures can anneal the steel, reducing its tensile strength by 10% to 50% depending on temperature and duration.
Heat Damage Indicators
- Wire discoloration — straw yellow, blue, or black coloring indicates the wire reached at least 500°F (260°C)
- Welding splatter — small metallic beads fused to the rope surface from nearby welding operations
- Electrical arcing marks — pitting or melting from electrical contact, common when ropes contact power lines
- Friction burns — polished or discolored areas where the rope slipped under load
Stainless steel ropes and some specialty alloys have different temperature thresholds. Always consult the manufacturer’s specifications for the specific rope construction and material.
What End Connection and Fitting Problems Should Inspectors Look For?
Quick Answer: Inspect end connections for cracked or deformed fittings, broken wires near terminations, evidence of the rope slipping through a swaged or pressed fitting, and wear on thimbles or sockets. End connections are the most common single-point failure location because stress concentrations are highest at terminations.
Common End Connection Issues
The termination is where the rope attaches to the equipment. This is a high-stress transition zone. Every time the load cycles, the wires at the termination experience amplified bending and tension.
Look for these specific problems:
- Broken wires within one rope diameter of the fitting
- Cracks in swaged sleeves or spelter sockets
- Excessive wear on thimble grooves
- Clip saddle marks on the live (load-bearing) side of the rope
- Rope slippage indicators (witness marks that have moved)
- Corrosion or pitting on fittings
Clip Installation Verification
For wire rope clips (sometimes called Crosby clips or U-bolts), verify the correct number of clips for the rope diameter. Check that the saddle sits on the live end and the U-bolt sits on the dead end. The common saying is “never saddle a dead horse.” Also verify proper torque on the nuts. Clips loosen over time and under load cycling.
How Do You Inspect Wire Rope on Drums and Sheaves?

Quick Answer: Check for proper spooling on drums, correct groove size on sheaves, and wear patterns that indicate alignment or fleet angle problems. A sheave groove that has worn to match the rope diameter too tightly accelerates rope wear. Sheave groove diameter should be 1% to 5% larger than the nominal rope diameter.
Drum Inspection Points
On the drum, check that the rope spools evenly without crossovers or gaps. Improper spooling causes the rope to crush against itself, leading to accelerated wear and deformation. Multiple layers of rope on a smooth drum need controlled spooling to prevent damage.
Also check for fleet angle problems. The fleet angle is the angle between the rope approaching the drum and a line perpendicular to the drum axis. Excessive fleet angles (beyond 1.5° for smooth drums or 4° for grooved drums) cause the rope to rub against adjacent wraps and wear unevenly.
Sheave Inspection Points
Sheaves wear over time, and their groove shape directly affects rope life. Inspect sheaves for:
- Groove diameter — should be nominal rope diameter plus 1% to 5%. Too tight pinches the rope. Too loose lets it flatten.
- Groove shape — should maintain a proper radius at the bottom. Flat-bottomed grooves from wear cause point loading.
- Sheave alignment — misaligned sheaves cause the rope to ride up on the flange and wear on one side.
- Bearing condition — a seized sheave that doesn’t rotate forces the rope to slide rather than roll, destroying both rope and sheave.
What Role Does Nondestructive Testing Play in Wire Rope Inspection?
Quick Answer: Nondestructive testing (NDT) detects internal defects that visual inspection cannot find. Electromagnetic testing is the most common NDT method for wire rope. It measures both metallic cross-section loss (LMA) and localized faults (LF) like broken wires hidden inside the rope structure.
Visual inspection is essential but limited. You can only see the outer wires, and those represent a fraction of the rope’s total cross-section. A 6×25 filler wire rope has over 150 wires per strand. Most of them are hidden.
Electromagnetic Rope Testing (MRT)
Magnetic rope testing works by magnetizing the rope as it passes through a sensor head. The sensor detects two things: loss of metallic area (LMA), which indicates general degradation like corrosion or wear, and localized faults (LF), which indicate individual broken wires or clusters of breaks.
MRT can detect internal broken wires, cross-section loss as small as 2% to 3%, corrosion pitting inside the rope, and core deterioration in independent wire rope core (IWRC) constructions.
When to Use NDT
NDT is recommended for critical applications where failure consequences are severe, ropes that have been in service for extended periods, ropes operating in corrosive or high-cycle environments, and situations where visual inspection reveals early signs of degradation that may be more advanced internally.
NDT doesn’t replace visual inspection. It supplements it. A complete inspection program uses both methods.
What Documentation Does a Wire Rope Inspection Require?
Quick Answer: Periodic inspections require written records including the inspection date, inspector’s name and qualifications, rope identification, condition findings for each criterion, measurements taken, and the disposition (return to service, monitor, or remove). OSHA mandates these records be available for review.
Required Record Elements
A compliant inspection record includes:
- Date and time of inspection
- Equipment identification (crane number, hoist identification)
- Rope identification (size, construction, manufacturer, installation date)
- Name and signature of the qualified person performing the inspection
- Findings for each inspection criterion (broken wires, diameter, corrosion, deformation, heat damage, end connections)
- Measurements (diameter at multiple points, broken wire counts per lay length)
- Disposition decision (returned to service, flagged for monitoring, or removed)
- Date of next scheduled inspection
Qualified Person Requirements
Both OSHA and ASME require periodic inspections to be performed by a “qualified person.” This means someone who, through training and experience, has demonstrated the ability to identify wire rope defects and apply the correct removal criteria. There’s no single certification that universally qualifies someone. Employers must verify competence through a combination of training documentation and demonstrated ability.
What Environmental Factors Accelerate Wire Rope Degradation?
Quick Answer: Saltwater, chemical exposure, extreme temperatures, abrasive dust, and high humidity all accelerate wire rope degradation. Environmental factors determine how often you inspect and which rope construction and material you select. A rope in a coastal marine environment degrades many times faster than the same rope in a dry indoor facility.
Environmental Impact on Inspection Frequency
| Environment | Primary Degradation Risk | Recommended Inspection Increase | Rope Material Consideration |
|---|---|---|---|
| Marine / coastal | Saltwater corrosion | 2x to 4x normal frequency | Galvanized or stainless steel |
| Chemical plant | Acid / alkali attack | 2x to 3x normal frequency | Stainless steel, plastic-coated |
| Mining / quarry | Abrasion, impact | 2x normal frequency | Extra-improved plow steel (EIPS) |
| High-temperature (foundry, steel mill) | Heat degradation | 2x to 4x normal frequency | IWRC (no fiber core), specialty alloys |
| Outdoor / exposed | Weather, UV, moisture | 1.5x to 2x normal frequency | Galvanized, regular relubrication |
Environment also affects which degradation you look for first. In a marine setting, corrosion is your primary concern. In a mining operation, abrasion and impact damage dominate. Adjust your inspection focus accordingly.
What Is the Difference Between Wire Rope Inspection Criteria for Running Ropes and Standing Ropes?
Quick Answer: Running ropes move over sheaves and drums under load. Standing ropes (like pendants and guy wires) remain stationary under tension. Running ropes have higher broken wire allowances because their construction accounts for fatigue. Standing ropes have stricter limits because any broken wire indicates more significant degradation.
Running Rope Criteria
Running ropes experience bending fatigue every time they pass over a sheave. This is expected, and the rope is designed for it. Criteria allow more broken wires before removal because some wire breaks are a normal consequence of fatigue cycling.
However, running ropes also experience abrasive wear on sheaves and drums. Monitor external wire wear patterns, especially flat spots on crown wires. If outer wires are worn to two-thirds of their original diameter, the rope should be removed regardless of broken wire count.
Standing Rope Criteria
Standing ropes don’t cycle over sheaves. They hold steady tension. Because they’re not subject to regular bending fatigue, any broken wires are a stronger signal of a problem. Standing rope removal limits are typically three or fewer broken wires in one lay length.
Corrosion is the biggest threat to standing ropes. They sit in one position for long periods, and moisture accumulates at low points and inside fittings. Pay extra attention to end connections and any point where the rope passes through a guide or support.
How Do You Build a Wire Rope Inspection Program?
Quick Answer: Start by identifying every wire rope on your equipment. Establish baseline measurements at installation. Set frequent and periodic inspection schedules based on service severity. Train inspectors on criteria and measurement techniques. Document everything. Review and adjust intervals based on findings.
Program Setup Checklist
- Inventory all wire ropes by equipment, location, and application
- Record rope specifications (size, construction, grade, manufacturer, date installed)
- Measure and record baseline diameter at installation
- Assign rope identification numbers
- Establish frequent inspection schedule (daily/per shift)
- Establish periodic inspection schedule (monthly/quarterly based on duty)
- Identify and train qualified persons for periodic inspections
- Create standardized inspection forms covering all criteria
- Define escalation procedures when criteria thresholds approach
- Schedule periodic reviews of the program itself (at least annually)
Adjusting Inspection Intervals
Your initial inspection schedule is a starting point. Adjust it based on what you find. If periodic inspections consistently show no degradation, your interval may be appropriate. If you’re finding problems, shorten the interval.
Critical factors that demand shorter intervals include high cycle rates, corrosive or abrasive environments, ropes near the end of their expected service life, and any rope that has previously been flagged for monitoring.
Frequently Asked Questions
How often should wire rope be inspected?
Frequent (visual) inspections should happen every operating day or shift. Periodic (thorough) inspections follow a schedule based on usage severity, typically monthly for normal duty and weekly for severe duty. ASME and OSHA standards define minimum intervals by equipment type.
Can you repair a wire rope instead of replacing it?
No. Wire ropes cannot be spliced, welded, or repaired once they meet removal criteria. The internal structure of a damaged rope cannot be restored. End fittings can sometimes be re-terminated on a shortened rope if the remaining length is sufficient and the rope otherwise meets all criteria.
What tools do you need for a wire rope inspection?
Basic inspections require calipers or a micrometer for diameter measurement, a wire rope measuring tape for lay length, a magnifying glass for examining broken wires and corrosion, a rag for cleaning the rope surface, and appropriate PPE including cut-resistant gloves. Advanced inspections add electromagnetic testing equipment.
What is the most dangerous type of wire rope damage?
Internal corrosion is considered the most dangerous because it is invisible to standard visual inspection. A rope can lose significant cross-sectional area from internal corrosion while still looking acceptable on the outside. This is why nondestructive testing methods for wire rope are recommended for critical applications.
Does OSHA specify exact broken wire limits for removal?
OSHA regulations reference general criteria and often defer to ASME B30 standards for specific numerical thresholds. For construction cranes, OSHA 29 CFR 1926.1413 provides more specific criteria. For general industry overhead cranes, 29 CFR 1910.179 references criteria that align closely with ASME B30.2.
How long does a wire rope typically last before needing replacement?
Wire rope service life depends on duty cycle, environment, sheave and drum condition, and maintenance quality. High-cycle crane ropes may last 6 to 18 months. Standing ropes in protected environments can last 10 years or more. There is no universal lifespan. Inspection criteria, not calendar age, determine when a rope must be removed.